
Which are the best web hosts right now? What hosting should you choose to ensure the best performance for your website? Go ahead and check everything now!
Bluehost
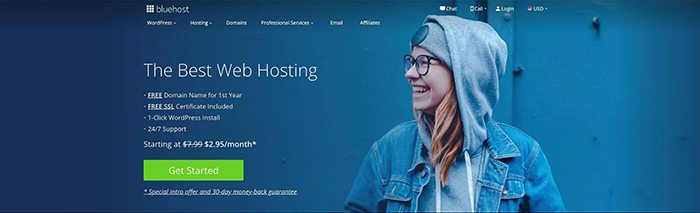
Bluehost is a trusted host by the WordPress foundation. Rock solid uptime, speedy performance & excellent customer support makes Bluehost the obvious WordPress choice. Bluehost is our clear winner. Sign up & get your Bluehost promo code here.
A2 Hosting

A2 Hosting is the fastest host around. Incredible loading times and an overall perfect experience takes away all our hesitation when it comes to choosing A2 Hosting for shared hosting.
Dreamhost

The simplicity of starting up a Dreamhost SSD Cloud Server is just so convenient. They allow you to run any application on their servers and speed is out of this world and the servers are stable as nothing we’ve seen.
Cloudways
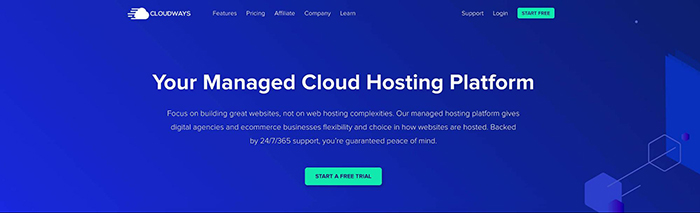
Nothing can compete with Cloudways when it comes to VPS hosting. They make it so simple any beginner can wrap their heads around it.
How to Add or Remove a Unique IP
If you’re reading this, chances are you’re looking to either add or remove IP address bindings and create your anonymous personality. Among your set of options, you can use TCP ports, IP address bindings, and host header names to host multiple websites on solely one cluster.
It’s essential to remember that because all members are synchronized with the controller, you will need to add all the relevant information from all members to that particular controller. If, for example, IP bindings are inconsistent and inappropriately done, then you might experience some unpredictable results.
If you’re dealing with a traditional non-NLB cluster, you’ll need to first bind all member-specific website settings to each website on the controller (i.e., IP addresses and such). If we’re discussing hosting multiple websites in an NLB cluster, then you’ll require adding a VIP or IP address directly to the network adapter on the controller.
How to add an IP address
- First of all, you’ll need to be in the IIS snap-in.
- Step two is right-clicking the website on which to add an IP address binding, afterward opening the pop-up menu and clicking Properties. Once that is done and dusted, you’ll see the dialogue box appear.
- Click on the tab named Web Site, and find the Advanced option –the dialog box will open up.
- Under Multiple identities for this Web Site, click the Add button.
- Once you’re in the Advanced Web Site Identification dialog box, you should be able to enter the appropriate values for TCP Port, IP Address, and Host Header Name.
- If you’ve sorted that out, click OK.
- Afterwards, click OK twice to return to the IIS snap-in.
How to remove an IP address
- First of all, you’ll need to be in the IIS snap-in
- Step two will be right-clicking the website from which you want to remove an IP address binding, afterward seeing a pop-up menu and clicking Properties –a dialogue box will appear.
- Click on the tab called Web Site, and under Web Site Identification you will find the Advanced option.
- Once you’re in the Multiple identities for this Web site part, select the IP address to you want to remove, and then click, well, the Remove button.
- Click OK to confirm that you want to go ahead.
- Afterwards, click OK twice to return to the IIS snap-in.
How Do I Backup My Entire Account?
Losing data due to a hard disk issue or computer crash is annoying, to say the least. Between losing essential work documents, your beloved music collection, or even family photos, you might just feel like giving up.
To add fuel to the fire, it can take an increasingly long time to reconfigure all your personalized settings just the way you’re used to, including the little things (i.e., screensavers, sounds, desktop backgrounds, wireless network configurations, etc.)
To prevent this anxiety and distress from taking form there is a natural thing you could do, and that is the:
‘One-Click’ backup
This option is seamless to put into place. To clarify, you will merely need to head over to your Control Panel, go to Billing & Account, and then click on Backup Your Account. This is possibly the easiest way to back-up all your databases, mailboxes, users, and in fact, the entire account.
It’s essential to bear in mind that if this is your first backup, the process might seem to drag on and on. You will need to put your brave face on and let time pass –once you’re done, you will be notified via email of the process having been completed.
How to Manually Backup Your Dedicated Site Files

Unfortunately, dedicated servers don’t feature the option of restoring a website back up as quickly as it can be. Instead of going into the control panel, you’ll need to use an admin user, employing the approach outlined below:
To restore something from your most recent backup, you will need first to rename the directory. For example, if your site is yesterday.com, rename it to yesterday.com.old or yesterday.com.past.
Afterwards, you will need to create a new empty website folder with a name of your choice, and then run a sync to copy the restored files to this new blank folder.
How to Enable Cloudflare on Your Domain
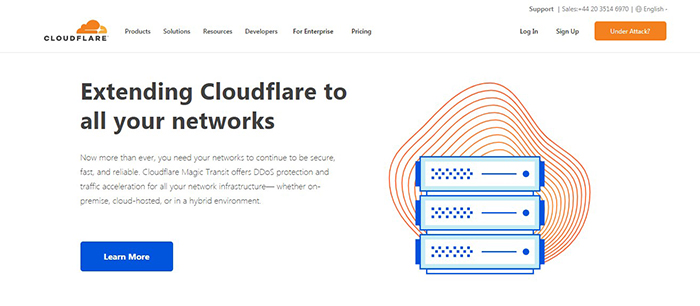
In order to enable Cloudflare on your site, you will need to go into the Control Panel bar, select Domains, and then the Manage Domains option. However, you should note that you won’t be able to change anything without having or adding a hosting plan to your account.
If you’ve already got that covered, click the Edit button located at the right of the domain –right under the Web Hosting row. For those using Cloudflare without a subdomain, select Add WWW as a domain name when asked: “Do you want www in your URL?”
Afterwards, scroll down all the way to the Cloudflare Services section and click on Enable Cloudflare on this domain box.
Cloudflare Account Type
If by any chance you don’t have a Cloudflare account, you will first need to select the option Create a New Account in the drop-down menu. You might notice that you’re being asked to provide a valid email address that you’d like to use for the creation of the account, all while also picking a password for it. If needed, write it down on a piece of paper. You’ll need to remember both the username and password if you want to log in and manage your account at Cloudflare.com.
Once you’re done with the account, select the Cloudflare subscription level you’ll need or want. You can find a detailed list of their plans on the official website –should you be confused about your options. Within 5-10 minutes of doing so, your domain will be updated, and you’ll be able to use Cloudflare.
Alternatively, you might already have an account. If this is the situation you’re in, select the option Existing Account from the drop-down menu. You’ll be required to enter your email address and password corresponding to your Cloudflare account.
Cloudflare FAQs
- I’ve lost the password to my Cloudflare account. How can I retrieve it and access it?
This is a great question and something that happens more often than you’d imagine. If this is where you’re at, use the Cloudflare forgot my password link to reset your password quickly. To continue the process, you’ll need to remember at least one of the domains you have registered with the service. However, if no domains are yet attached to the account, you can leave that space blank.
- Can Cloudflare access my MySQL databases?
In short, the answer is no. Cloudflare is only able to connect to a web server via the HTTP –similar to any other visitor trying to access your website.
- I can’t seem to connect the SSH or FTP to my hostname. How do I fix this?
When you enable Cloudflare for the domain, the domain’s DNS record or www is updated. However, the name server does not change in the slightest, with merely the A record being changed. In other words, if you used to use a subdomain to connect via SSH or FTP, then you’ll need to adapt your approach and connect via the server name.
- What files are distributed on Cloudflare’s CDN?
When discussing Cloudflare’s CDN distribution, it’s essential to know that merely static files are accessible via HTTPS. For example, scripts of other types of data are not available via this means and are not shared with Cloudflare.
To put things into perspective, Cloudflare only has the option of caching data from your website or your server. Content from other links or external sources is not cached as a result. This may be confusing at first, but on their website, you can find the full list of cached data.