


Hey there! Ready to dive into the exciting world of AI-powered image generation? Over the past year, incredible progress has been made in this field, offering endless possibilities for creativity and innovation. OpenAI and Stable Diffusion are among the most popular AI technologies that have driven this revolution, allowing us to create stunning images like never before. They have gained immense popularity and are at the forefront of the image generation revolution.
As the demand for AI-powered image generation grows, developers and creators seek user-friendly solutions to integrate these cutting-edge technologies seamlessly into their platforms. When it comes to WordPress, that’s where the ANN WordPress theme comes into play.
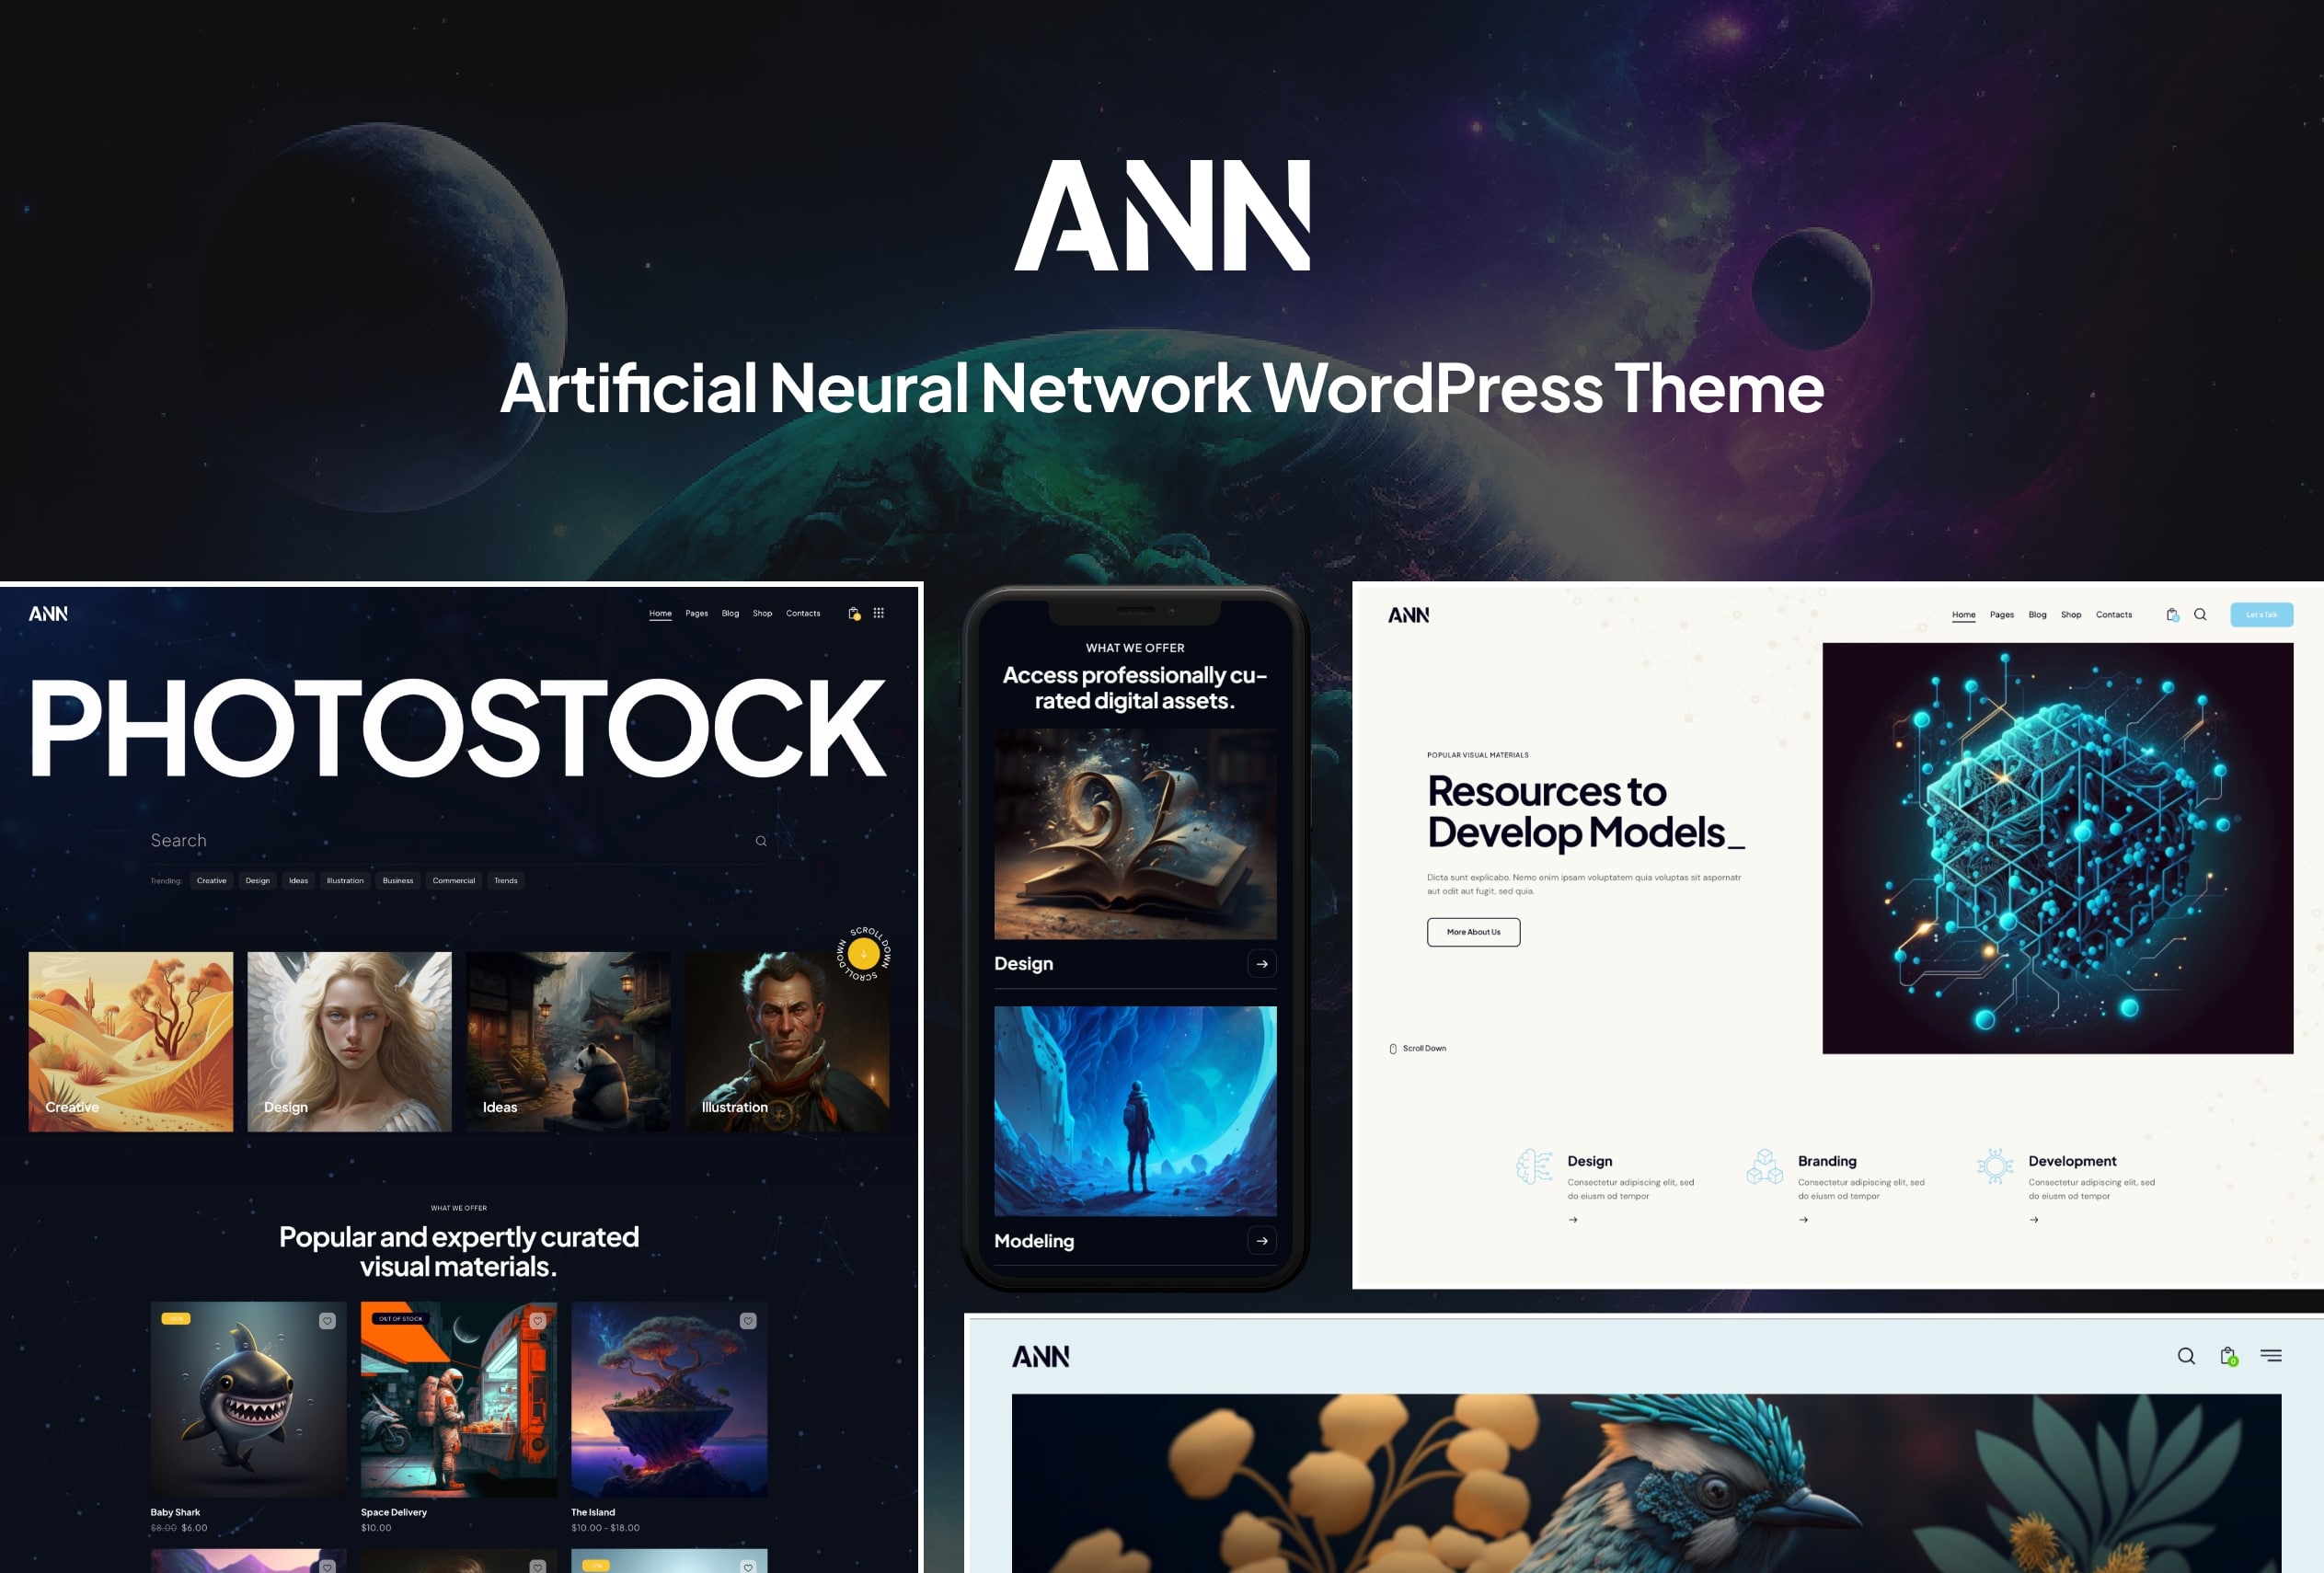
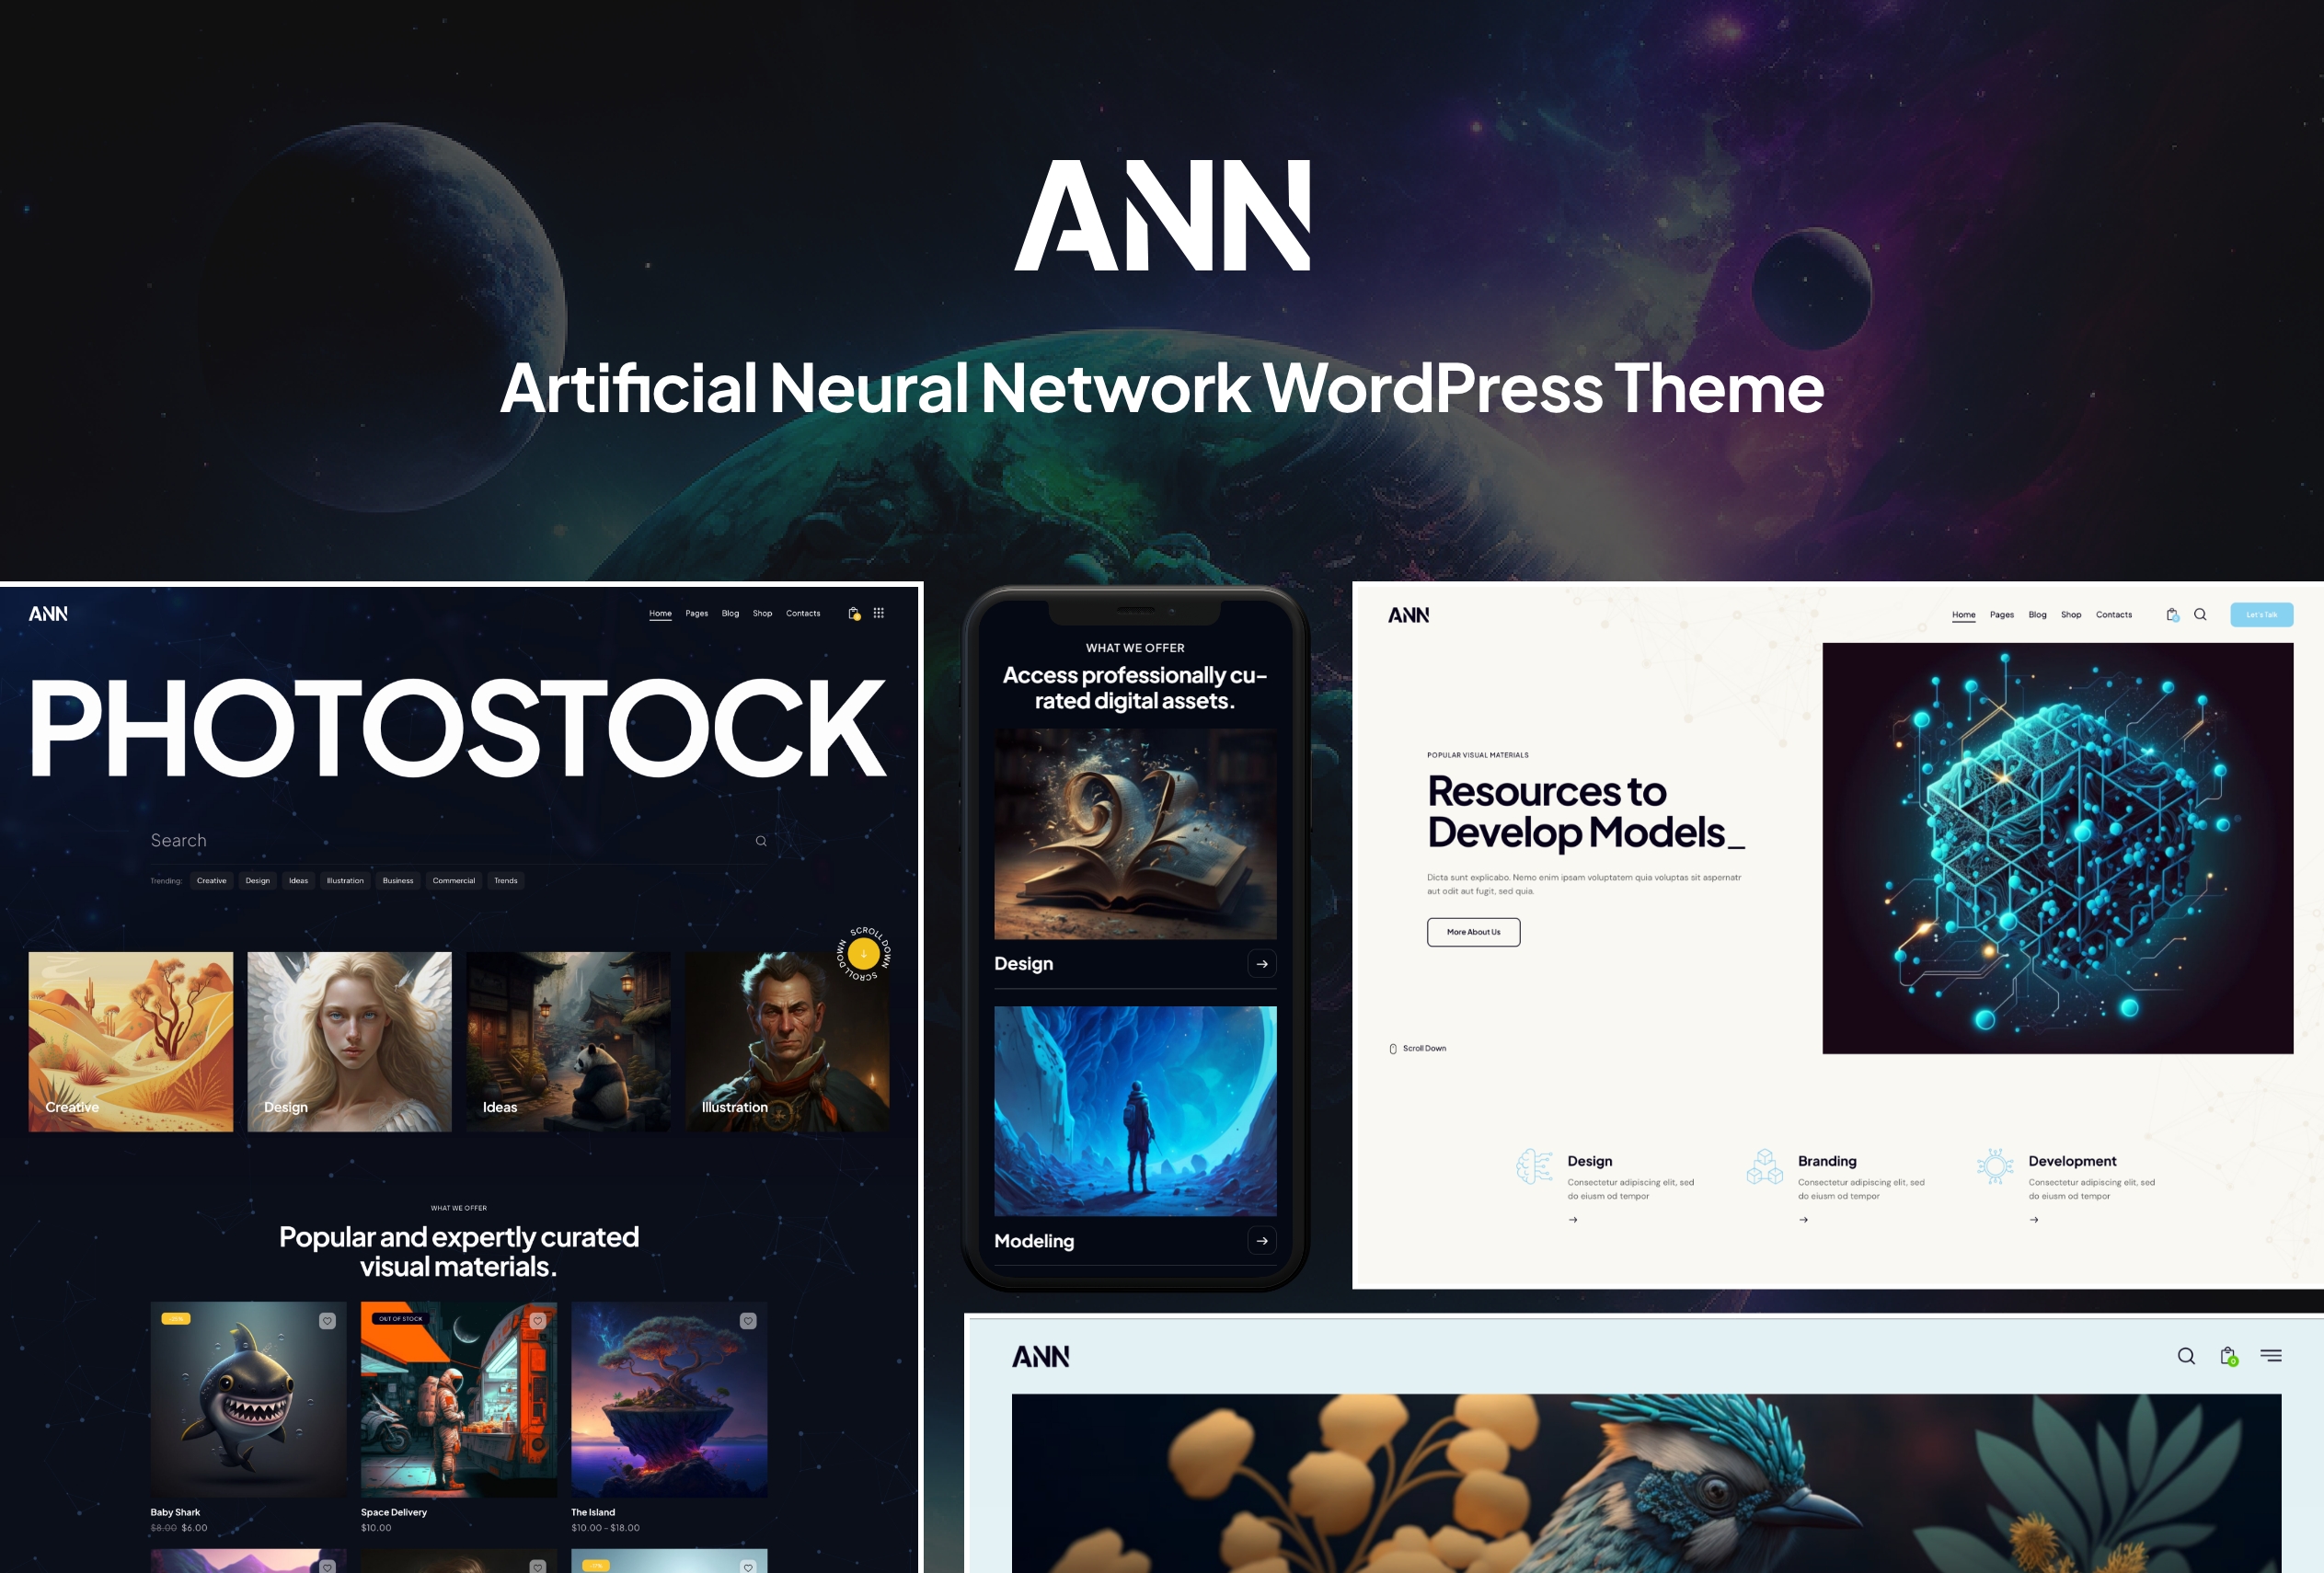
ANN, which stands for Artificial Neural Network, is tailor-made for AI integration. It’s like having your own AI powerhouse right on your WordPress website! With ANN, you can easily integrate APIs from OpenAI and Stable Diffusion, enabling you to generate AI images, text, and even create your very own custom AI chatbot.
This theme brings you the latest and greatest AI technologies wrapped up in one neat package.
Now we’re going to show you how to turn your website into a paid, subscription-based image generation service. Let’s get started!
First things first, you need access to the image generation capabilities. You’ll have to sign up for a premium subscription plan for your desired API, whether it’s Stable Diffusion or OpenAI.
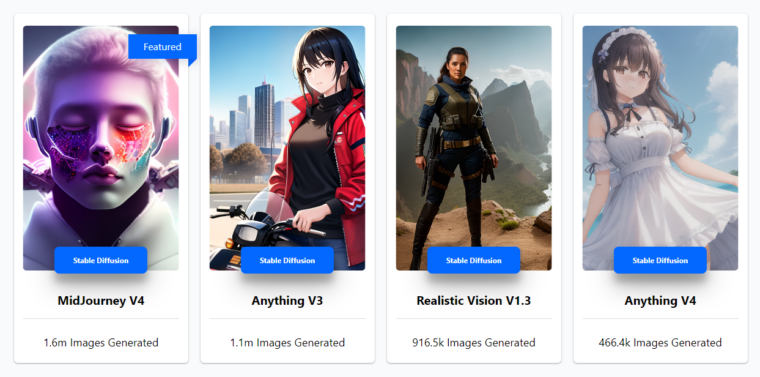
Your choice would depend on what image generation models you want to use. In the case of OpenAI, it’s DALL-E 2. On the other hand, Stable Diffusion boasts a wider array of models, offering greater diversity. You can even choose which models are available to your customers – plenty of flexibility there.
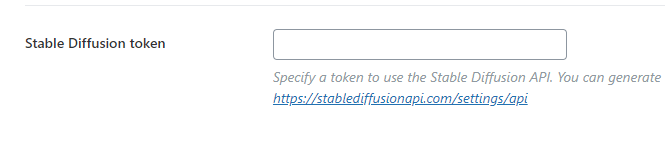
Once you have chosen the desired API, add its token into the ANN theme. You can do this in Theme Panel > ThemeREX Addons > AI Helper.
Great, now you can generate images directly on your website! But how exactly does it work?
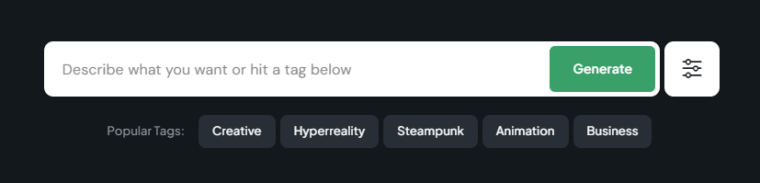
Now that your API is hooked up, you can generate images yourself. You do this by adding the “AI Helper Image Generator” widget on your webpage. But you might want to set some limitations to keep things in check.
You can control two parameters: “Images per 1 hour” and “Requests from 1 visitor.” These parameters determine how many images can be generated by all visitors in one hour and how many requests a single visitor can make in the same time frame.
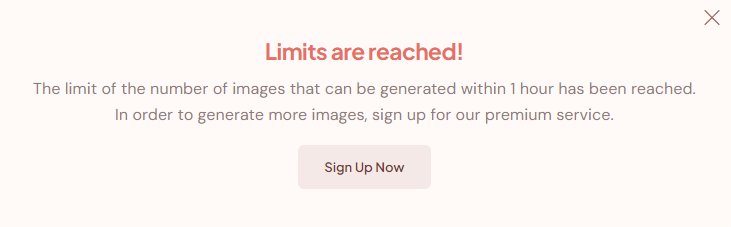
This way, you can offer a free mode where users get a taste of image generation, but with some limitations. Once those limits are reached, you can prompt users to register for a premium account to unlock full access.
When users hit the free mode limitations, they’ll see a notification informing them about it. Pay close attention to this message, since this is where you get to introduce the premium mode to your users.
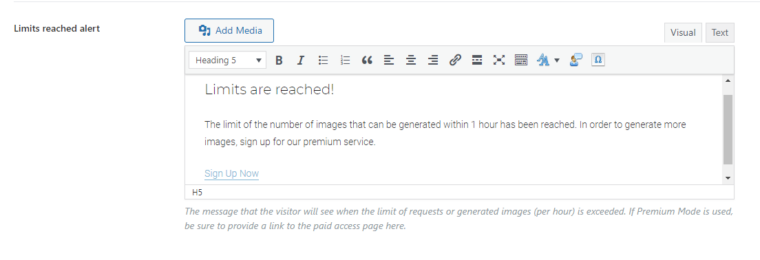
You have the freedom to customize this message. Most importantly, make sure to include a call to action encouraging users to upgrade to the premium mode. You could take them directly to a login page or a landing page where you showcase all the premium features.
But how exactly does the premium mode work? And how can we control access to the premium mode widget? Let’s find out.
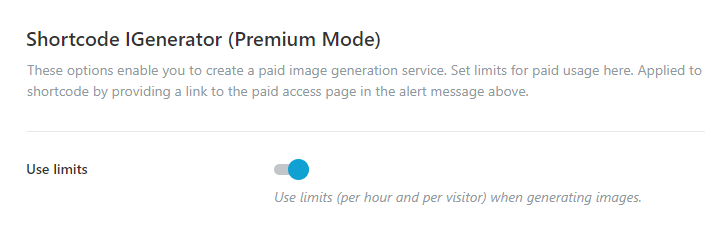
Now comes the most crucial part – the premium mode. By enabling this mode in the “Image Generator” widget settings, as well as global settings, you can apply a new set of settings to image generation.
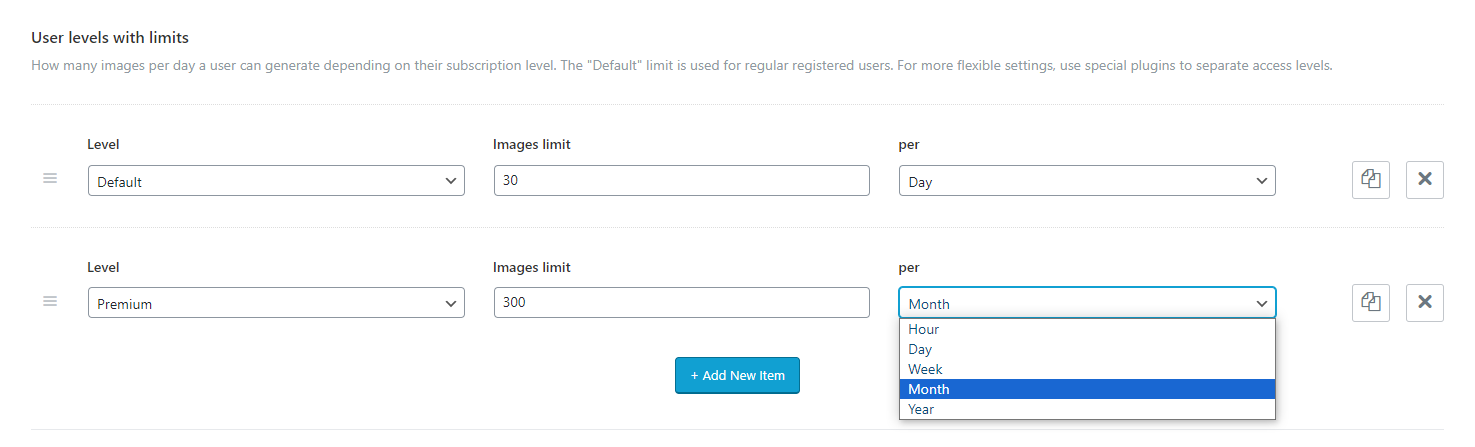
You’ve got two paths here. You can stick to the regular settings, like ‘Images per 1 hour’ and ‘Requests from 1 visitor,’ but widen the limits significantly. Another option, and our suggestion, is to use the ‘User levels with limits‘ settings. With this, you assign access levels to each membership plan. The access level comes from the Paid Memberships Pro plugin, which we’ll talk about soon. You also get to decide how many images a user can generate in a specific time frame – it could be an hour, a day, a week, or even a whole year.
This setup lets you craft a pricing system that’s super flexible. You mix and match the access level settings from the Paid Memberships Pro plugin with the options right in the theme.
Now that we’ve figured out how to activate the premium mode, all that’s left is putting that premium mode widget on a page. But not just any page – it has to be one with restricted access, only for the premium users. There are various plugins that can help you do this, but we’ve gone with Paid Memberships Pro in our case. Keep reading to learn more about how it all comes together.
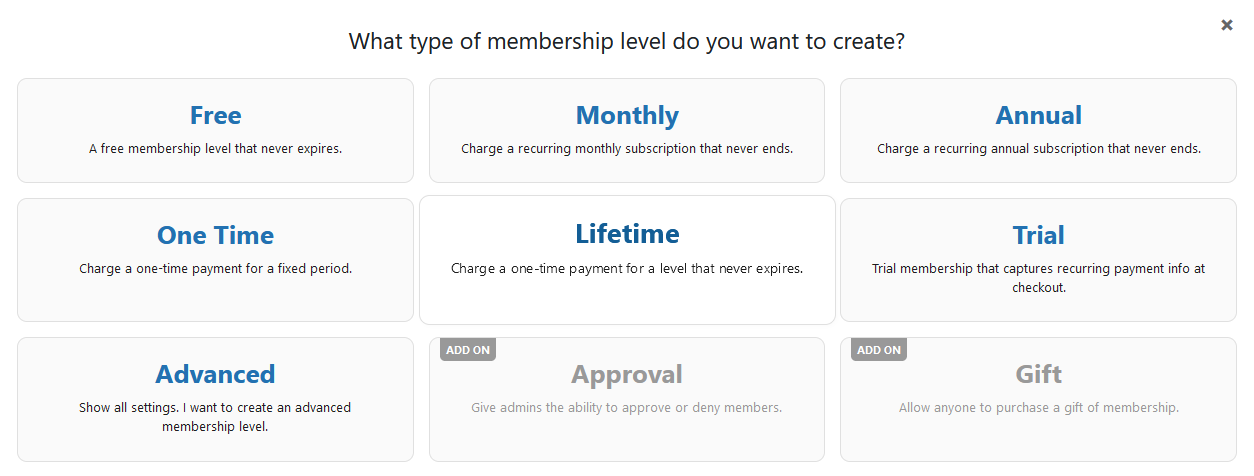
Now, when you’ve got the premium mode in play, it’s important to ensure that only your premium users get access to the form. That’s where Paid Memberships Pro comes in handy. This plugin is your go-to solution for restricting access to a specific page housing the premium form. Plus, it’s versatile – you can create membership plans and set up payment gateways too.
Paid Memberships Pro is a great choice for setting up different membership levels. This lets you be really flexible with what you offer. Whether it’s monthly access or a trial with limited hours/days, the choice is yours. And guess what? Those access levels you create with Paid Memberships Pro can also be adjusted in the Premium Mode settings. Get creative and tailor it to your liking.
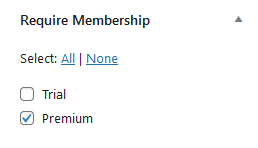
Your premium Image Generator form has to be placed on a separate page with restricted access. This way, only those with access can use it. Here’s how:
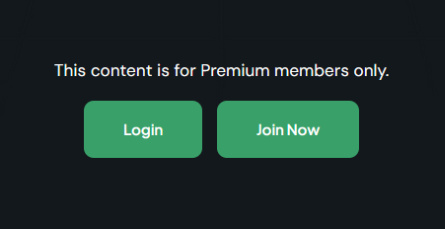
Great! Your page is now visible only to those who purchased the specified membership. Other visitors will see a log-in/registration form instead.
You can also change the message users see on your restricted access page. Go to Message Settings and check out ‘Message for Logged-Out Users’.
You can even place variables there. Remember to add a ‘Join Now’ button so users can sign up. Here’s an example:
This content is for !!levels!! members only.<br /><a href=”!!login_url!!”>Login</a> <a href=”!!levels_page_url!!”>Join Now</a>
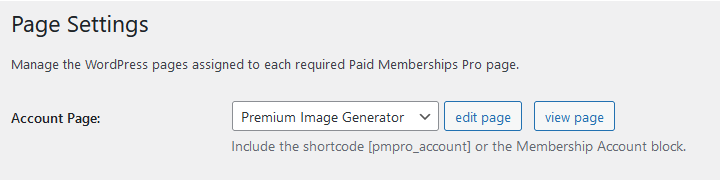
It’s a small thing, but worth mentioning. When users sign up, they usually end up on their Membership account page. If you prefer, you can tweak it so they land right on your premium Image Generator form.
In the Paid Memberships Pro settings, go to Settings > Pages > Account Page, and pick the page with the premium form.
Or, you can just put a button on the Membership page that leads to the premium form page
Last but not least, make life easy for your users. Add a login button to the theme header, so they can quickly access your premium image generation features. You can do this by putting a Button or an Icon List widget in your header and linking it to the restricted access page. This way, users can easily find their way to your premium features.
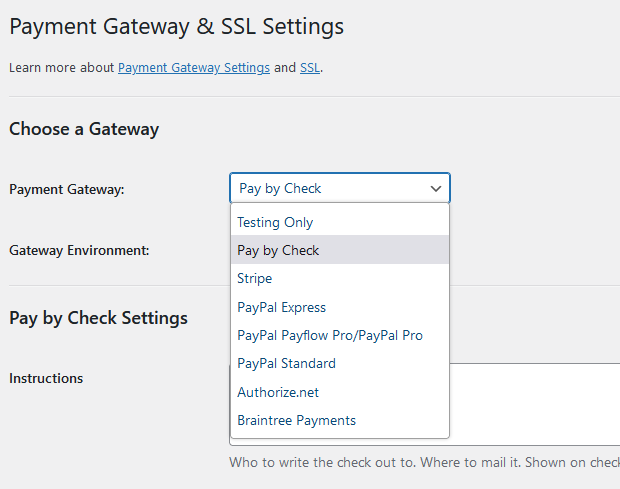
Paid Memberships Pro is quite flexible regarding the payment systems. There are different payment gateways that are included in the plugin. Choose from Stripe, PayPal, Authorize.net, or Braintree. You can offer multiple gateway options at checkout including PayPal Express or offline payment by check or direct transfer.
And there you have it! By following these simple steps, you can transform your website into a premium image generation platform that people will love. Feel free to give the ANN WordPress theme a try – it’s your key to unlocking AI’s potential on your website and monetizing it effectively. Happy creating!
Exploring ideas at the intersection of design, code, and technology. Subscribe to our newsletter and always be aware of all the latest updates.
I’m Taylor & I am totally obsessed with online activity, either it is website building/blogging or cryptocurrency trading and social media marketing! Adore reading and while doing it every day, I am craving for sharing, that’s why I am here! You can ask me about web design and marketing, and tell me what you know! I am a chief editor at ThemeREX, occasional writer and guest authors recruiter.