Logo is an integral part of any website, it creates an identity of your brand and makes it recognizable. This guide will show you how to upload a logo to a WordPress website. We have selected a theme built with Elementor Page Builder as an example for this article. However, if your theme uses WPBakery Page Builder, the instructions are the same.
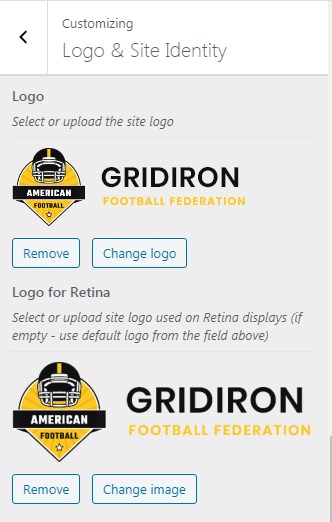
Generally, you can upload a logo in Customize > Logo & Site Identity tab. Please check this screenshot:

Make sure you replace all logo images in Customizer before saving changes. As a rule, the retina logo should be twice as big as the regular logo.
Setting a different logo for a specific page in the Header layout
Additionally, the logo from Customizer can be overwritten by the logo image uploaded in the Header layout. This allows you to display a different logo image for each page. For example, if you have 2 versions of your logo – light and dark one. You can select the header style for a particular page in its Theme Options:

Then navigate to Layouts > All Layouts in order to edit the selected header style. Alternatively, you can access the header layout from WordPress admin toolbar:

This will take you directly to the Header layout where you can replace logo image:

Next, select the image for the site’s logo. If empty – theme-specific logo will be displayed instead.
That’s it! Now your logo is successfully uploaded to a website.
