
Have you ever thought about turning your WordPress site into a social network? Maybe you want to build a community around a shared interest, connect people, or even create a niche social network. Whatever your reasons, transforming your WordPress site into a social hub can be an incredibly rewarding project. And guess what? It’s not as complicated as it sounds, especially with WordPress there are many plugins and themes which can help make social network site in a much low cost.
Before we jump in, let’s make sure you have the basics covered. You need a WordPress site (of course!), and it’s best if you have some basic familiarity with how WordPress works. If you’re new to WordPress, no worries. We will help with from installing wordpress to developing a complete social network site step by step, so if you are a beginner and want to make social network site, stay here and follow the steps.
Choosing the Right Hosting and Getting Started
First thing, you need reliable hosting. Since a social network involves significant user interaction and data exchange, choosing a hosting provider that offers good performance, scalability, and support is crucial. Managed WordPress hosting services like WP Engine, SiteGround, or Bluehost are excellent options because they provide optimized environments for WordPress, which can handle the demands of a social network.
Installing WordPress
If you haven’t already installed WordPress, most hosting providers offer a one-click installation process. Simply log into your hosting account, find the WordPress installer, and follow the prompts. Once installed, you can log into your WordPress admin dashboard by navigating to yoursite.com/wp-admin.
Installing BuddyPress
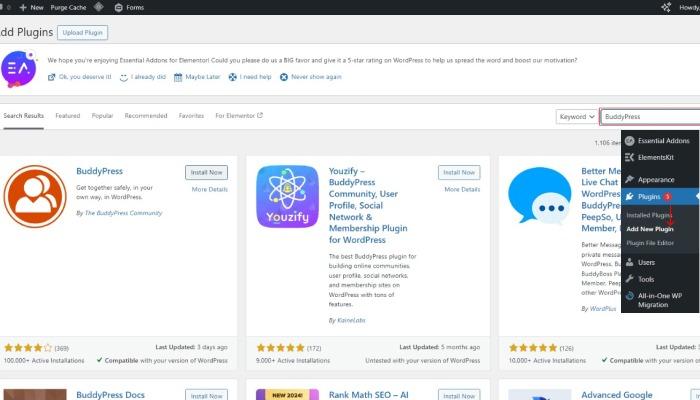
The installation process is straightforward. Navigate to your WordPress dashboard, go to Plugins > Add New, and search for «BuddyPress.» Click Install Now, and then Activate. With BuddyPress activated, you now have the foundation to build your social network.
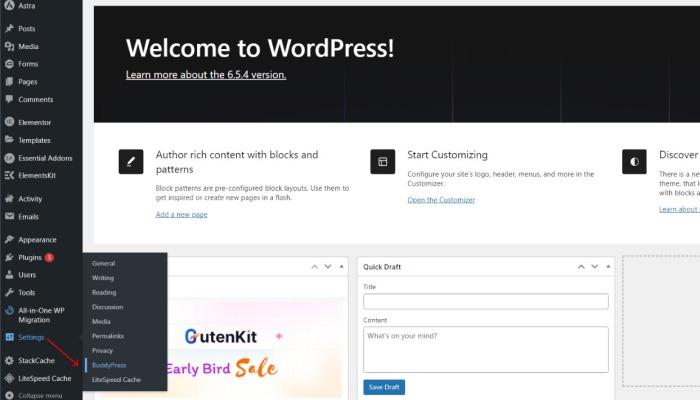
Once BuddyPress is activated, you’ll see a new BuddyPress section in your dashboard. Head over there and start the setup. BuddyPress will guide you through enabling core components like extended profiles, account settings, activity streams, and user groups. Just follow the prompts.
BuddyPress Components Overview
BuddyPress has several components that you can turn on or off based on your needs. Here’s a quick rundown:
- Extended Profiles: Allows users to create detailed profiles.
- Account Settings: Users can manage their settings.
- Activity Streams: Tracks all activities across the network.
- User Groups: Users can create and join groups.
- Private Messaging: Enables private conversations between users.

Setting Up User Profiles
User profiles are the heart of your social network. BuddyPress makes it easy to customize profile fields. Go to Users > Profile Fields and start adding fields that are relevant to your community. You can add fields like interests, location, skills, etc.
Configuring Activity Streams
Activity streams keep everyone updated on what’s happening across the network. You can configure these to show updates, comments, group activities, and more. Head to BuddyPress settings and tweak the activity stream options to suit your needs.
Creating and Managing Groups
Groups are a fantastic way to organize your community around different topics or interests. Users can create groups, join them, and participate in discussions. You can set up group creation rules and manage groups from the BuddyPress settings.
Private Messaging System
Private messaging allows users to communicate directly. This is great for fostering one-on-one connections. Make sure it’s enabled in your BuddyPress components, and adjust the settings as needed.
Notifications and Emails
Notifications keep users engaged by informing them about new activities, messages, and friend requests. BuddyPress comes with built-in email templates that you can customize under Settings > Emails.
Choosing a Compatible Theme
Now that BuddyPress is set up, it’s time to select a theme that complements its functionalities and enhances your social network’s appearance.
Selecting a theme that integrates well with BuddyPress is crucial for a professional and cohesive look. You can explore the BuddyPress section in the WordPress theme directory or check out premium themes on platforms like ThemeForest. Look for themes that offer BuddyPress compatibility in their features list.
Customizing with BuddyPress-Compatible Themes
Once you’ve chosen a theme, customize it to align with your brand and style preferences. Most themes come with customization options in the WordPress Customizer. Experiment with colors, fonts, layouts, and other settings until you achieve the desired look and feel for your social network.
Using BuddyPress Widgets and Shortcodes
BuddyPress offers various widgets and shortcodes to enhance your site. You can add these to your sidebar, footer, or any widgetized area. Widgets include things like recent activity, members, groups, and more.
Adding Custom Fields to Profiles
To make profiles more interesting and relevant, you might want to add custom fields. Go to Users > Profile Fields, and you can add fields for anything from favorite books to professional skills.
Extending BuddyPress Functionality
Congratulations on setting up the foundation of your BuddyPress-powered social network! Now that you have the basics in place, let’s enhance your community by adding more features and boosting user engagement.
Popular BuddyPress Add-Ons
BuddyPress is great on its own, but many add-ons can extend its functionality. Plugins like BuddyPress Group Email Subscription, BuddyPress Member Types, and BP Better Messages can add more features to your network.
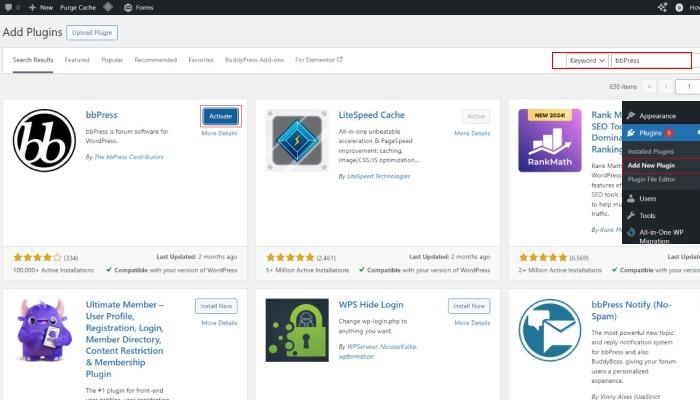
Integrating bbPress for Forums
If you want to add forums to your social network, bbPress, developed by the same team as BuddyPress, seamlessly integrates with your site. To get started, go to your WordPress dashboard, click on Plugins > Add New, search for «bbPress,» and install it. Once activated, navigate to Forums, create a new forum with a title and description, adjust settings as needed, and publish. bbPress provides a structured platform for users to discuss, ask questions, and share ideas, enhancing community interaction and engagement across your site.

Using Third-Party Plugins for Enhanced Features
Beyond BuddyPress-specific plugins, numerous third-party plugins can enhance your social network. Consider plugins for SEO, security, and performance optimization.
Managing Your Community
Now that your social network is up and running, let’s delve into managing and nurturing your community for sustained growth and engagement.
Running a social network means you’ll need to moderate content and interactions. BuddyPress comes with moderation tools, but you might also want to install additional plugins like Akismet for spam protection and User Role Editor for managing permissions.
User Roles and Permissions
Define user roles clearly. BuddyPress works with WordPress roles so that you can assign different capabilities to administrators, moderators, and regular members. This helps keep the community organized and manageable.
Handling User Registrations and Spam
User registration is crucial, and so is managing spam. Use plugins like reCAPTCHA or WPBruiser to protect your registration forms from bots. Regularly monitor new registrations to ensure they are genuine.
Analytics and Monitoring User Activity
To enable analytics and monitor user activity on your WordPress site, including your BuddyPress-powered social network, follow these steps:
Google Analytics Setup:
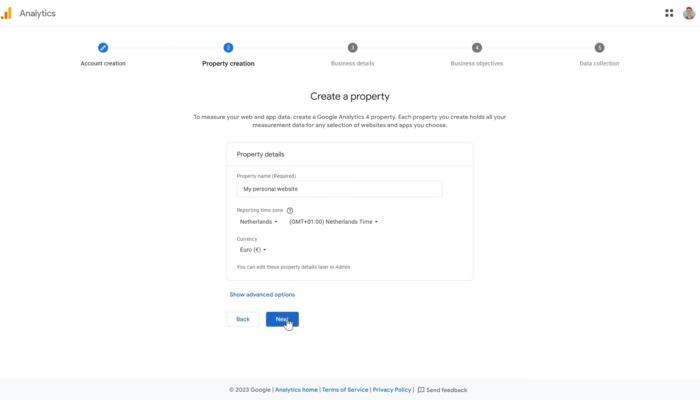
- Create a Google Analytics Account: If you don’t already have one, visit the Google Analytics website (analytics.google.com) and sign in with your Google account. Follow the prompts to create a new account for your website.
- Set Up a Property: Once logged into Google Analytics, click on «Admin» in the bottom left corner. In the Account column, select the account you want to use. Under the Property column, click on «Create Property» and enter your website details.
- Get Tracking ID: After creating the property, Google Analytics will provide you with a tracking ID (in the format UA-XXXXXXXXX-X). Copy this tracking ID.
Integrating Google Analytics with WordPress:
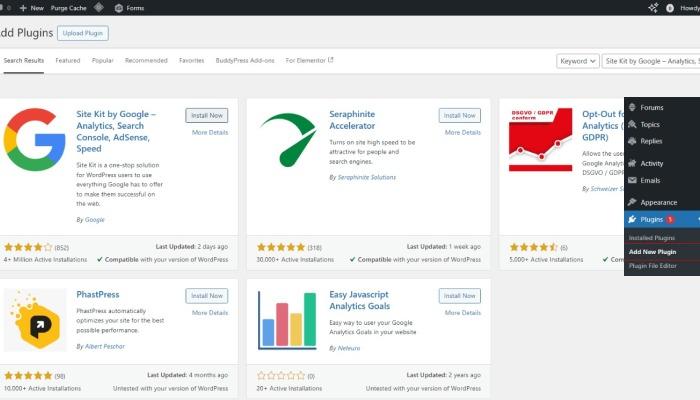
Using a Plugin: The easiest way to integrate Google Analytics with your WordPress site is through a plugin. Here’s how:- Install and Activate a Plugin: In your WordPress dashboard, go to Plugins > Add New.
- Search for «Google Analytics» and choose a plugin like «MonsterInsights» or «Google Analytics Dashboard for WP (GADWP).»
- Click «Install Now» and then «Activate» the plugin.
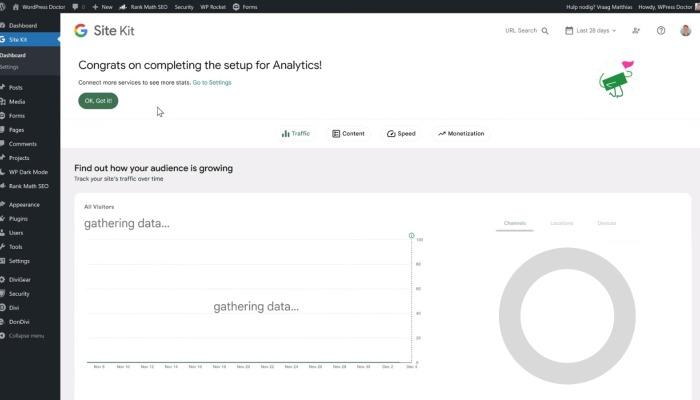
- Configure the Plugin: Once activated, go to Settings > Google Analytics in your WordPress dashboard. Enter the tracking ID you copied earlier into the plugin’s settings page.
Follow any additional setup instructions provided by the plugin to complete the integration. Some plugins may require you to authenticate with your Google account to grant access to your Google Analytics data.
Verify Integration:
- After configuring the plugin, visit your website. Browse a few pages to generate some traffic.
- Go back to Google Analytics and navigate to «Realtime» > «Overview» to see if your site is sending data. It may take a few hours for Google Analytics to start showing data, so check back later if nothing appears immediately.
Monitoring User Activity:
- Once Google Analytics is set up and tracking, you can monitor various metrics under different sections such as «Audience,» «Acquisition,» «Behavior,» and «Conversions.»
- Customize your Google Analytics dashboard to focus on metrics relevant to your BuddyPress social network, such as page views, user interactions, and traffic sources.
By following these steps, you’ll effectively integrate Google Analytics with your WordPress site, enabling you to monitor user activity and gain valuable insights to optimize your BuddyPress-powered social network.
Performance Optimization
Now that your BuddyPress-powered social network is live and operational, it’s vital to prioritize performance optimization for a seamless user experience. Efficient performance not only ensures quick page loads but also plays a crucial role in retaining visitors and fostering active engagement across your platform.
Caching and Speed Optimization
To begin with, consider implementing caching and speed optimization techniques. Caching plugins like WP Super Cache or W3 Total Cache can significantly improve loading times by storing static versions of your site’s pages. This reduces server load and enhances overall responsiveness, especially during peak traffic periods.
Image Optimization and Media Handling
Next, focus on image optimization and media handling. Compressing images before uploading them reduces their file size without compromising quality. Plugins such as Smush or EWWW Image Optimizer automate this process, ensuring that media-heavy pages load swiftly without consuming excessive bandwidth.
Database Optimization
Database optimization is another critical step. Regularly clean up your database by removing redundant data, optimizing tables, and scheduling maintenance tasks. Plugins like WP-Optimize simplify these operations, keeping your site’s backend efficient and responsive.
By prioritizing these performance optimization strategies, you’ll create a faster and more reliable BuddyPress social network. This not only improves user satisfaction but also enhances usability and encourages increased interaction within your community.
Ensuring Security
Security is vital. Always keep your WordPress themes and plugins updated. Use strong passwords and limit login attempts to prevent brute-force attacks.
Security Plugins and Tools
Plugins like Wordfence or Sucuri can add an extra layer of security. They offer features like malware scanning, firewall protection, and real-time alerts.
Handling Data Privacy and Compliance
Ensure your site complies with data protection laws like GDPR. Use plugins like WP GDPR Compliance to help manage user data requests and privacy policies
Engaging Your Community
Engage your community with regular content updates. Share blog posts, news, and events related to your network’s interests. Encourage user-generated content and discussions.
Common Issues and Fixes
Every site encounters issues. Please familiarize yourself with common BuddyPress problems and their solutions. The BuddyPress forums are a great resource for troubleshooting.
BuddyPress Support Resources
BuddyPress has a dedicated support forum where you can ask questions and get help from the community. There are also plenty of tutorials and documentation available online.
Community and Professional Support Options
Consider joining BuddyPress user groups or hiring a professional agency if you need extra help. Make sure to hire best agencires that specialize in BuddyPress development and can assist with customizations. Hire Top Agencies like WebFX , Thrive Agency and Web Design Coventry for your technical needs who offers tailored services for BuddyPress enhancements, ensuring you receive expert support to optimize your social network effectively.
Conclusion
Turning your WordPress site into a social network with BuddyPress is an exciting journey. By carefully choosing your hosting, installing and configuring BuddyPress, selecting a compatible theme, and adding customizations and additional plugins, you can create a vibrant and engaging community.
Remember, building a successful social network takes time and dedication. With patience and consistent effort, you’ll foster a thriving community where users connect, share, and engage. If you ever need assistance or have questions, don’t hesitate to reach out. Happy networking!