Layouts is a tool for creating and customizing headers, footers, and other parts of your website. It is based on the Visual Composer page builder. Availability of this feature depends on the ThemeREX Framework version used in the theme. Let’s see how we can customize layouts in order to create the desired website’s look.
Although it’s not the single usage of Layouts, you can think of them as Visual Composer for headers and footers.
Traditionally, Visual Composer has been enabling you to customize pages, however the header and footer sections remained untouched.
Now you have a full freedom over your header and footer, and can even expand your website with additional elements.
In this article, we’ll cover the details on how to customize Layouts.
How to See Which Layout Is Enabled Right Now
If you want to know which Layout you’re currently using, go to Appearance -> Customize, select Header (or Footer, depending on which one you want to explore) and view the Header style option.
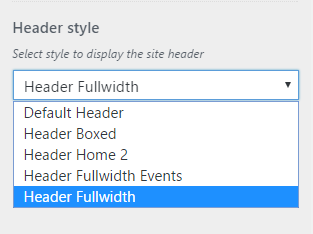
This is the list of available Header Layouts (i.e. headers). If you want to select a different header, that’s where you need to do it.
You can also set a specific Layout for a dedicated page. Go to Pages -> All Pages, select the page you want to customize, and in the Theme Options section at the bottom choose the necessary Header style or Footer style.
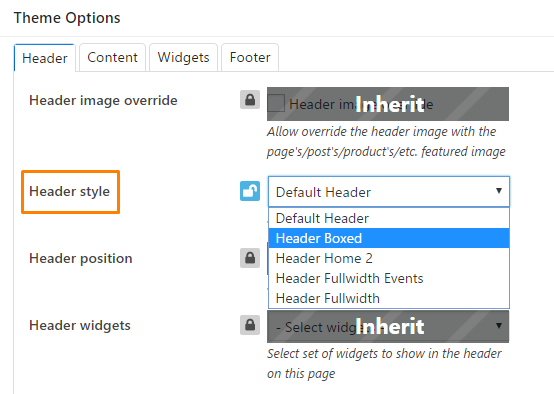
Note: For your home page, you can specify the necessary layout right in the Customizer in Homepage -> Header style.
Exploring Layouts
Layouts are not limited to headers and footers only and can be used to add different kinds of elements to your site.
Where Are the Actual Layouts Located?
In order to view the available Layouts, go to Layouts -> All Layouts.
You can see that sometimes beside headers and footers, there are additional Layouts, such as Galleries, Actions, Events, etc. Each theme has a different collection of Layouts.
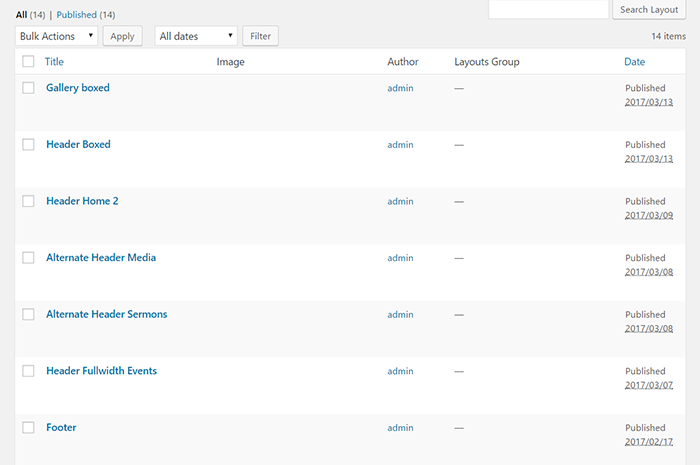
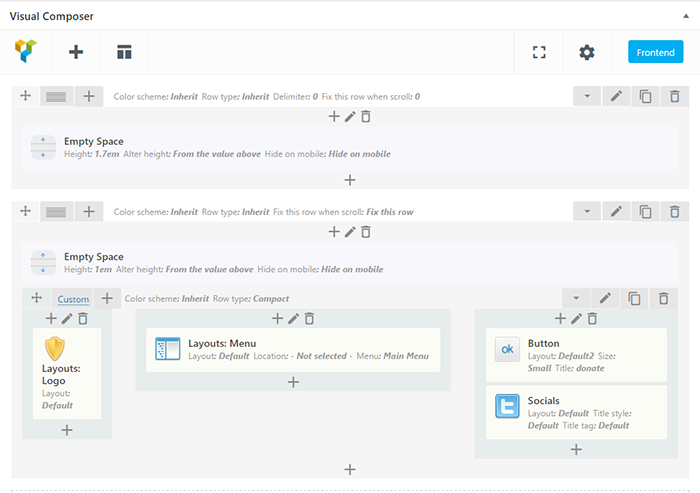
If you open any of them, you’ll see the familiar Visual Composer editor, which means you can customize them the same way you’ve been customizing your pages.
Going Beyond Headers & Footers: Layout Shortcodes
In its essence, a Layout is a Visual Composer’s row.
With that in mind, you can place them in any location on your page.
In order to add a ready-made Layout as a Visual Composer row, you need to:
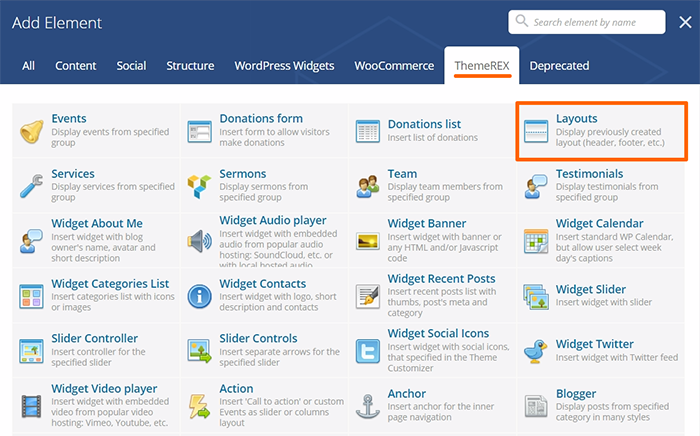
Add a new Visual Composer element, click on the ThemeREX tab, and select Layouts.
- Choose your Layout from the dropdown list.
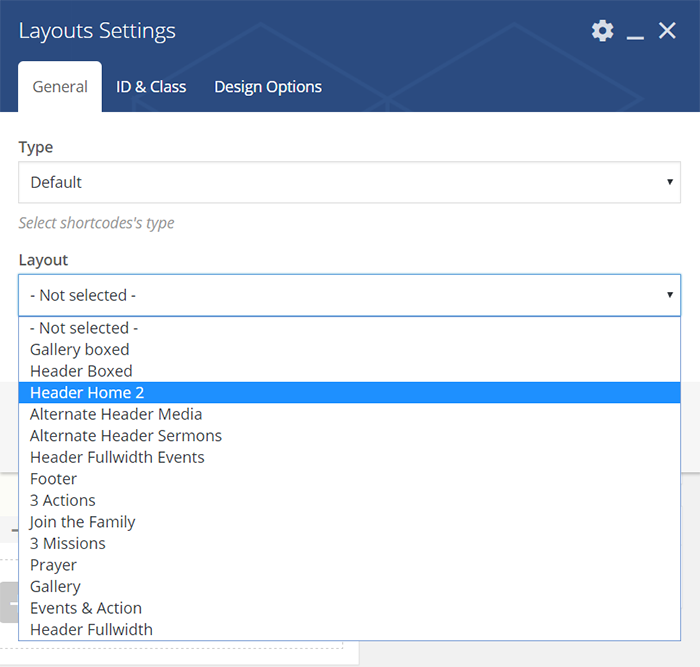
This is the same list of Layouts you’ve seen in Layouts -> All Layouts in your admin dashboard.
Creating Your Own Layout
You can build Layouts using existing Visual Composer elements, however there are also custom elements for building layouts.
In order to access them, click Layouts -> Add New, open the Backend editor and add a new Visual Composer element. In the ThemeREX tab, you’ll see the available Layout shortcodes.
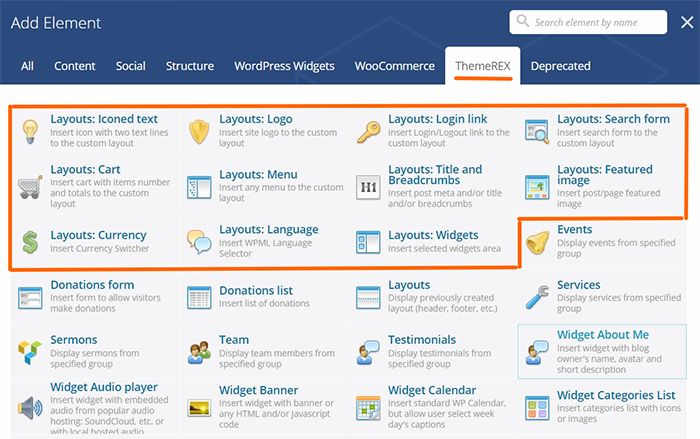
They include Logo, Search form, Shopping cart, Menu, etc., and would come in handy when building Layouts for headers and footers.
Useful Layout Settings
There’s a number of things you can do to customize Layouts.
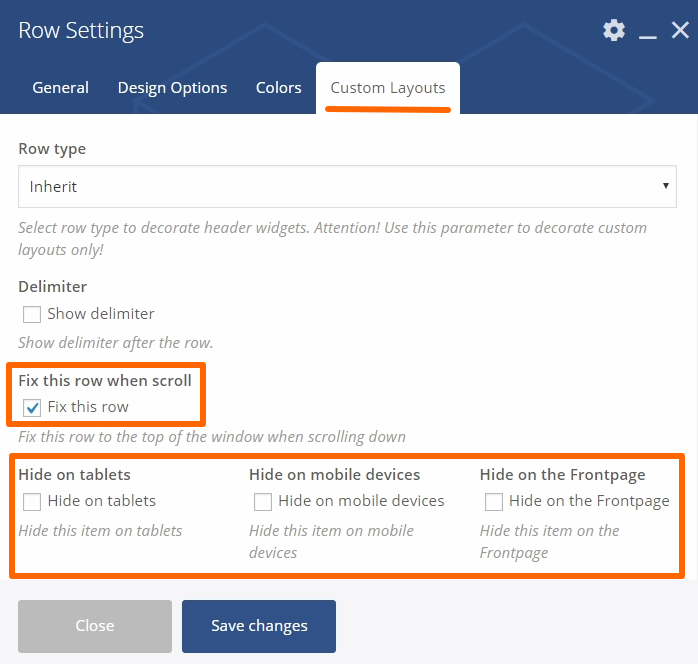
For example, you can hide it on mobile phones or tablets, or choose to disable it on a front page.
You can also make your header stick to the top, by fixing the element’s row.
In order to change its settings:
Click on the row settings of a container element
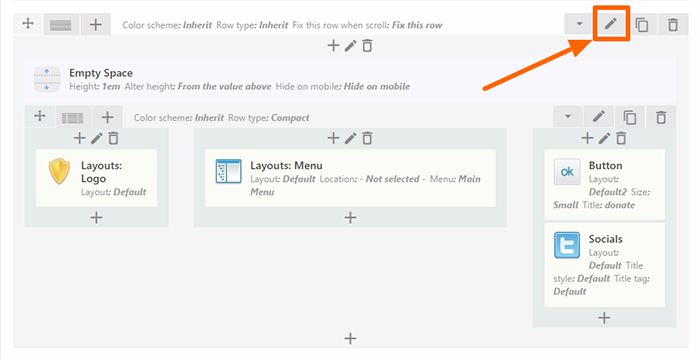
- Go to Custom Layouts and check the necessary boxes:
- Layout Templates
If you need to create a new Layout, but don’t want to create it from scratch, you can use a library of Layout templates to get you started.
Creating Layouts from Templates
In order to create a new Layout from a template:
Click Layouts -> Add New
- Choose Backend Editor
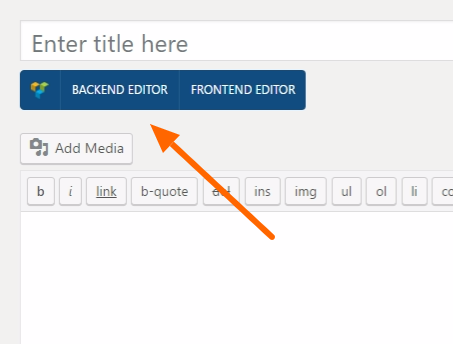
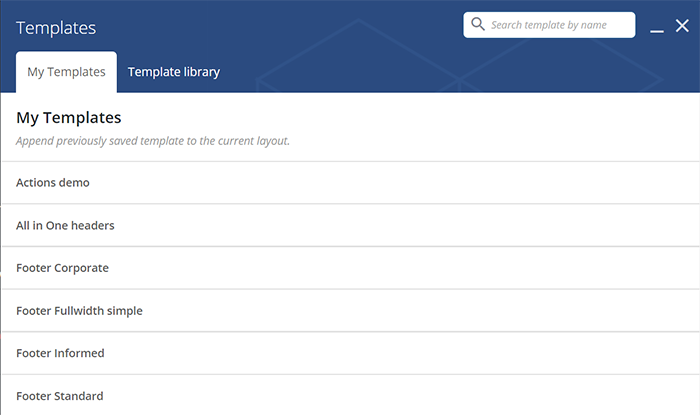
- Click the Templates icon
- Select a template from the list
Saving Current Layout as a Template
You can also save the current Layout and use it later as a template. In order to do this:
- Click the Templates icon
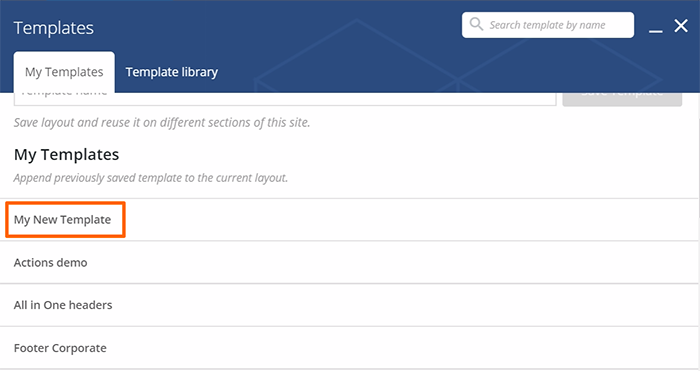
- Enter the name of your template and click ‘Save template’

- Now you can find it in the templates list
You may also check our video tutorial on how to customize layouts.


