Creating a user with administrator privileges in WordPress is straightforward. We strongly recommend setting up a temporary, self-expiring admin user. If you cannot install plugins, use the instructions below to create an admin user.
How to Create a New WordPress Admin User on a Self-Hosted Site
- Log into your WordPress site.
- Once logged in, you’ll be directed to your Dashboard.
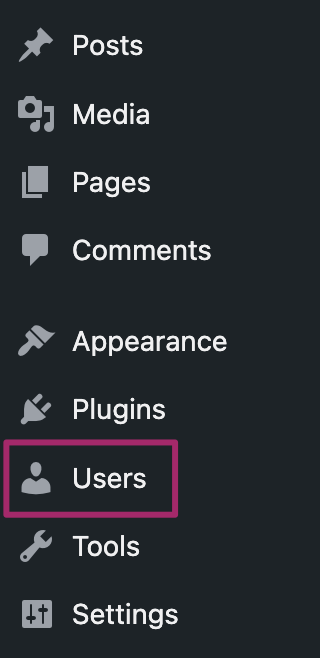
- Click on Users from the menu on the left side.

- Select the Add New button at the top of the page.

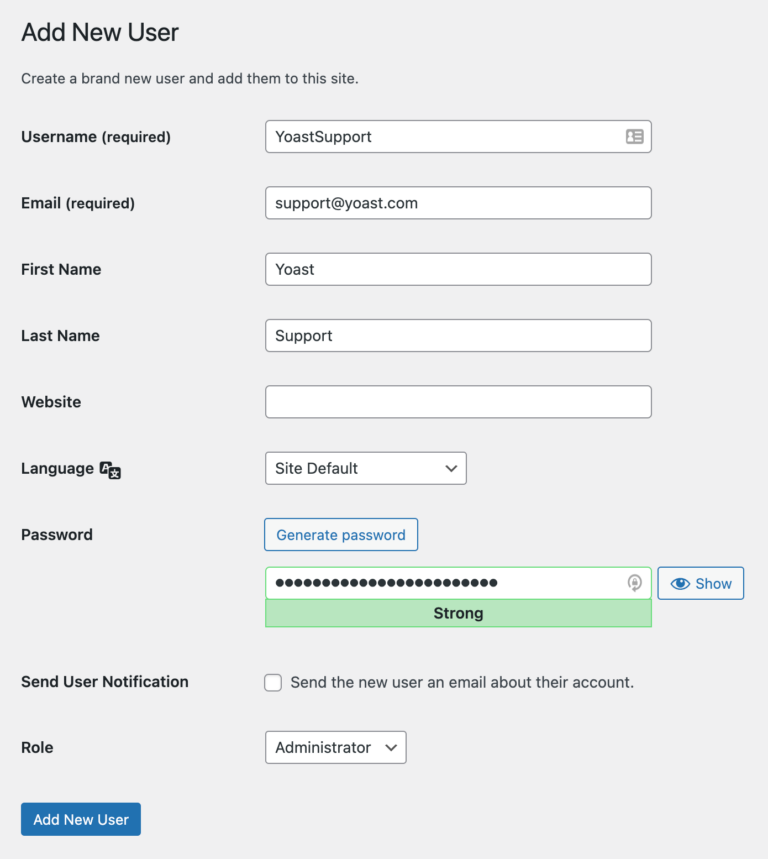
- If you’re setting up the account for the support team, please ensure that the Send User Notification option is left unchecked.

- At the bottom of the form, click the Add New User button.
If you want support accessing your website, please email the link to your admin login URL and username. However, do not include the password in your email. The support team will use the password reset feature to create a password for our access.
For instance:
- Login URL: http://example.com/wp-admin
- User: YoastSupport
And remember to delete the account once your inquiry has been resolved!
Providing Your Login Information to the Yoast Support Team
The support team may request that you create an account on your site to assist with your inquiry. If you want them to access your website, please send the link to your admin login URL and the username in your email. Do not include the password; they will utilize the password reset feature to set one up for our access.
For example:
- Login URL: http://example.com/wp-admin
- User: YoastSupport
And please remember to delete the account once your issue has been resolved!


