WordPress has evolved greatly just from being a blogging platform to the versatile service provider. In these many years, the preferable CMS platform is dynamic enough to handle every possible criterion of the online businesses.
WordPress platforms offer a humongous range of services from where, eCommerce stores can keep a track of the orders, bloggers can chase the on-site metrics and freelancers can carve the direct invoices for the clients. The complete platform is well-sectioned. The platform is a complete solution for handling a variety of tasks.
WordPress offers MyMail which is a really potent plugin serving the needs of email marketing. It not only allows you to get the hold of the complete email marketing campaign but is also merged greatly with WordPress dashboard only. Below is roll down through the available plugins of WordPress:
- An option to enhance the email list.
- WYSIWYG editor to create attractive and customized layouts for emails.
- An option of scheduled emails with which you will not require an auto-responder option.
- Already embedded analytics which lets you get to the campaign of key metrics.
Monthly Subscription Criteria:
MyMail brings up a variety of functionalities, which you will get with the premium autoresponder services. It provides a range of subscriptions which will help you with the lesser cost of money.
Below we have a quick guide on, creating an email campaign with MyMail.
MyMail is convenient to use and below are the steps to make it a smooth sail:
Before you send your first newsletter, you should make a whole list. You can start by initiating with:
- Creating Newsletter
- Making Lists
- Adding new
After these steps, you have to add name along with the subscription. Press Save then.
If you own a list, you can conveniently import the same in MyMail. It will be installed with the CSV format.
After getting the CSV file, please move on to:
Newsletters > Subscribers.
Note: You can also drag and pin the CSV file at a place. Also, you can copy and paste the spreadsheet.
After the list gets processed, you would be able to select the list of the subscribers. In case, you create a newer list, pick the option of Import Contacts.
Most probably, you will be able to add additional subscribers. MyMail provides a built-in widget which helps make an addition to the sidebar.
Below are the steps:
- Appearance
- Widgets
- Bring the Newsletter Signup form towards the widget area.
Send Mails with MyMail
Now that you have created the first newsletter, you can start sending the emails with some below steps:
With the WordPress Dashboard:
Choose Newsletter>Campaign.
Get started with above steps.
Your email must have a subject line. To get this done, write down a small pre-header.
Here, the pre-header is a short amount of text which receives the email preview.
After this, make a specification with the sender’s name and the email addresses.
After that you are done with the needful, you can move ahead with testing MyMail’s features.
Some of the attractive main features are:
- Drag and drop builder (WYSIWYG).
- The section of the template which forms customized layouts for the mails.
Before you start with any of the default templates, then featuring email subject, logo and the footer area becomes easy. You can do it with social sharing display button.
You can also switch the logotype by choosing from the conveniently available WordPress library. The buttons can easily be configured with the personal social media profiles.
With these many basic configurations, you can start with adding the content to the emails. Also, you can merge some texts and images to these emails. After then, modules should be added from the right side of the top corner. You get the option of the editor from there.
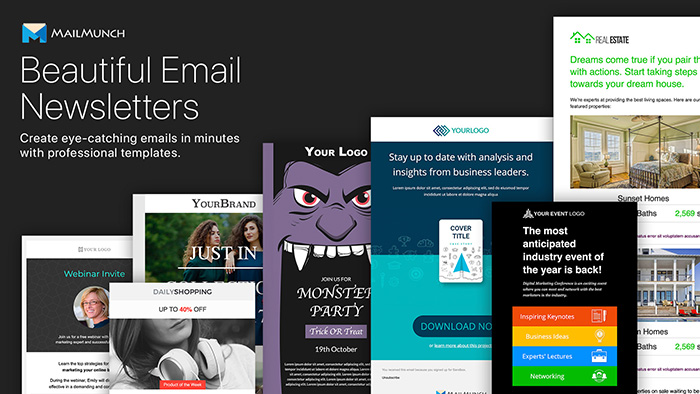
The page builder is quite interesting and intuitive which allows you to make super-stylish and prompt looking templates. You will be able to add various template types to it. Also, adding as many modules as possible is like a cakewalk.
After working with some modules, you will be all ready to observe the final look of the email. So, you can do it with the help of Preview button which sits at the top of the template.
MyMail also makes a significant customization which moves through almost 28 backgrounds textures. The color choices are endless to adore your presentation. Everything is available at “Options”, which is situated at the right side of the “Template”.
MyMail is quite a farfetched option which helps in growing the email list. It is quite an impactful plugin which is worthy of autoresponder s3rvices such as AWeber.


